Create a user
Guide for creating a user.
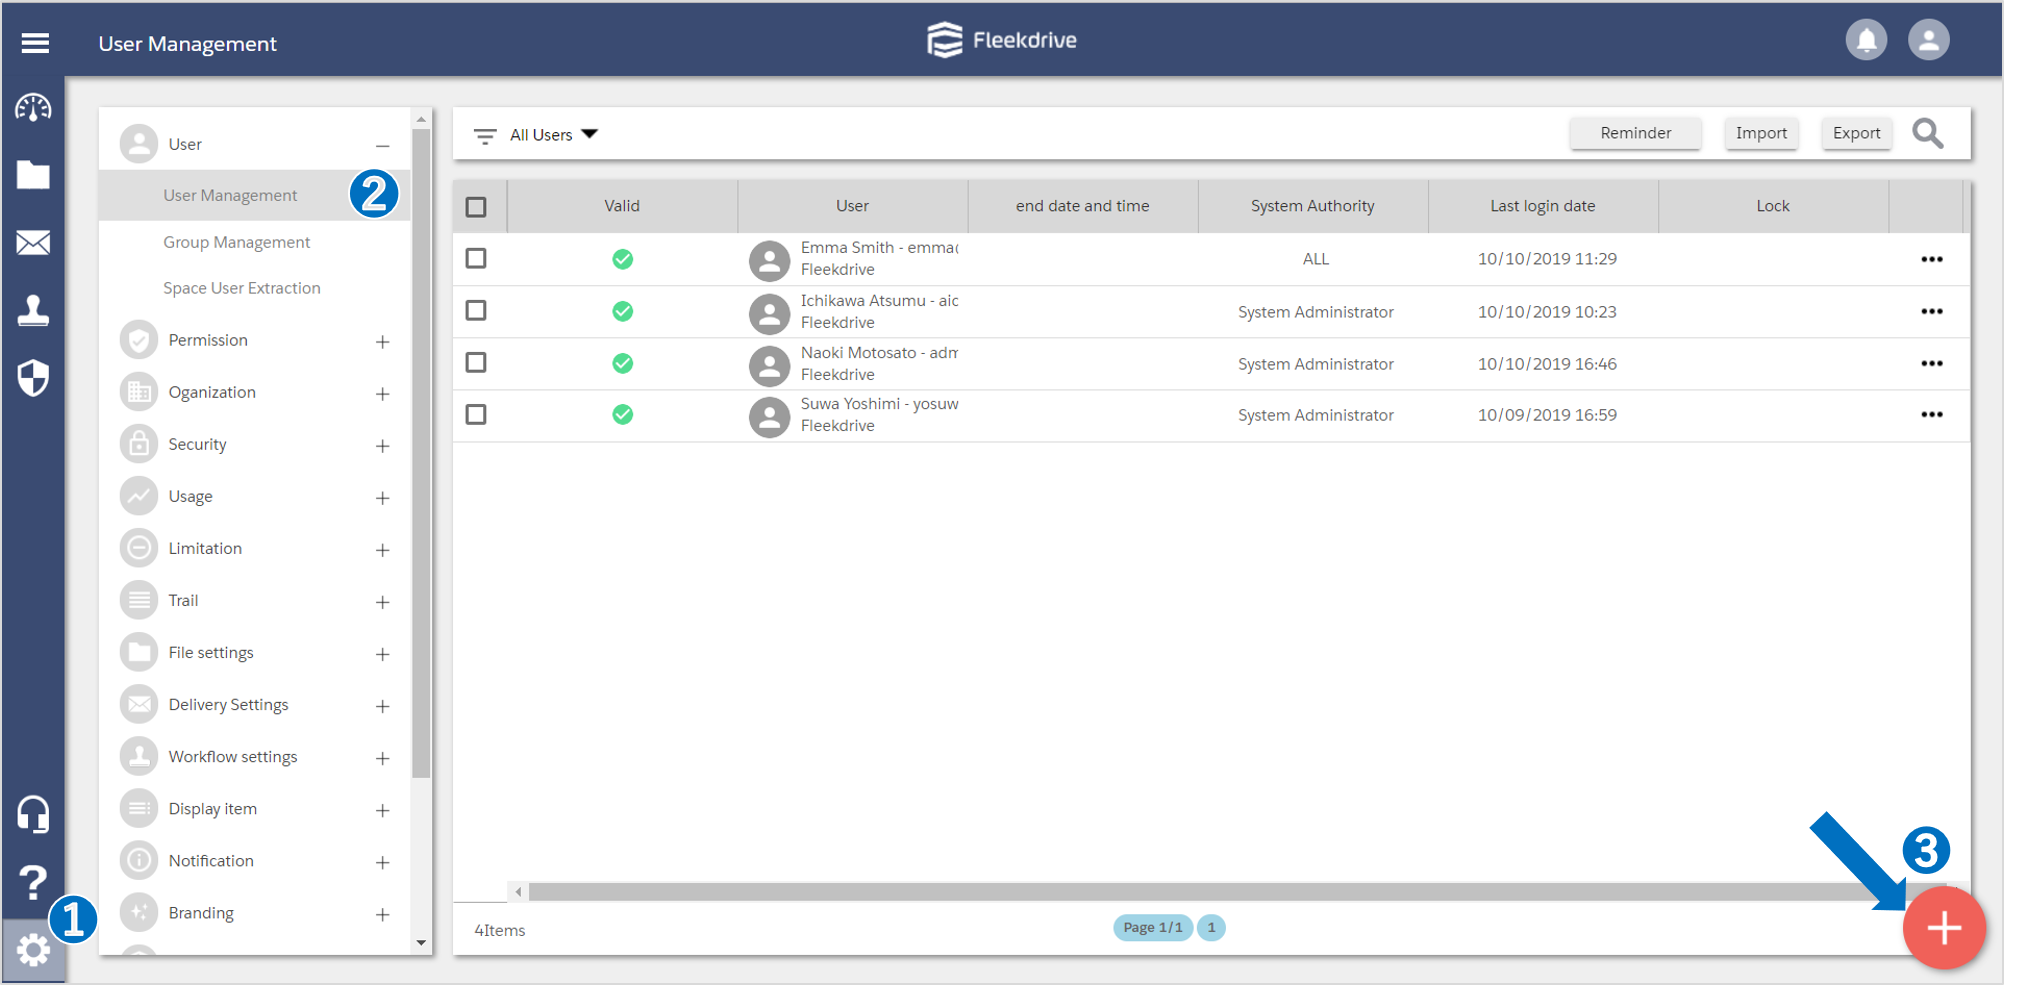
Open the User management.
Open the “User Management” menu from Settings, and floating button in the bottom right.
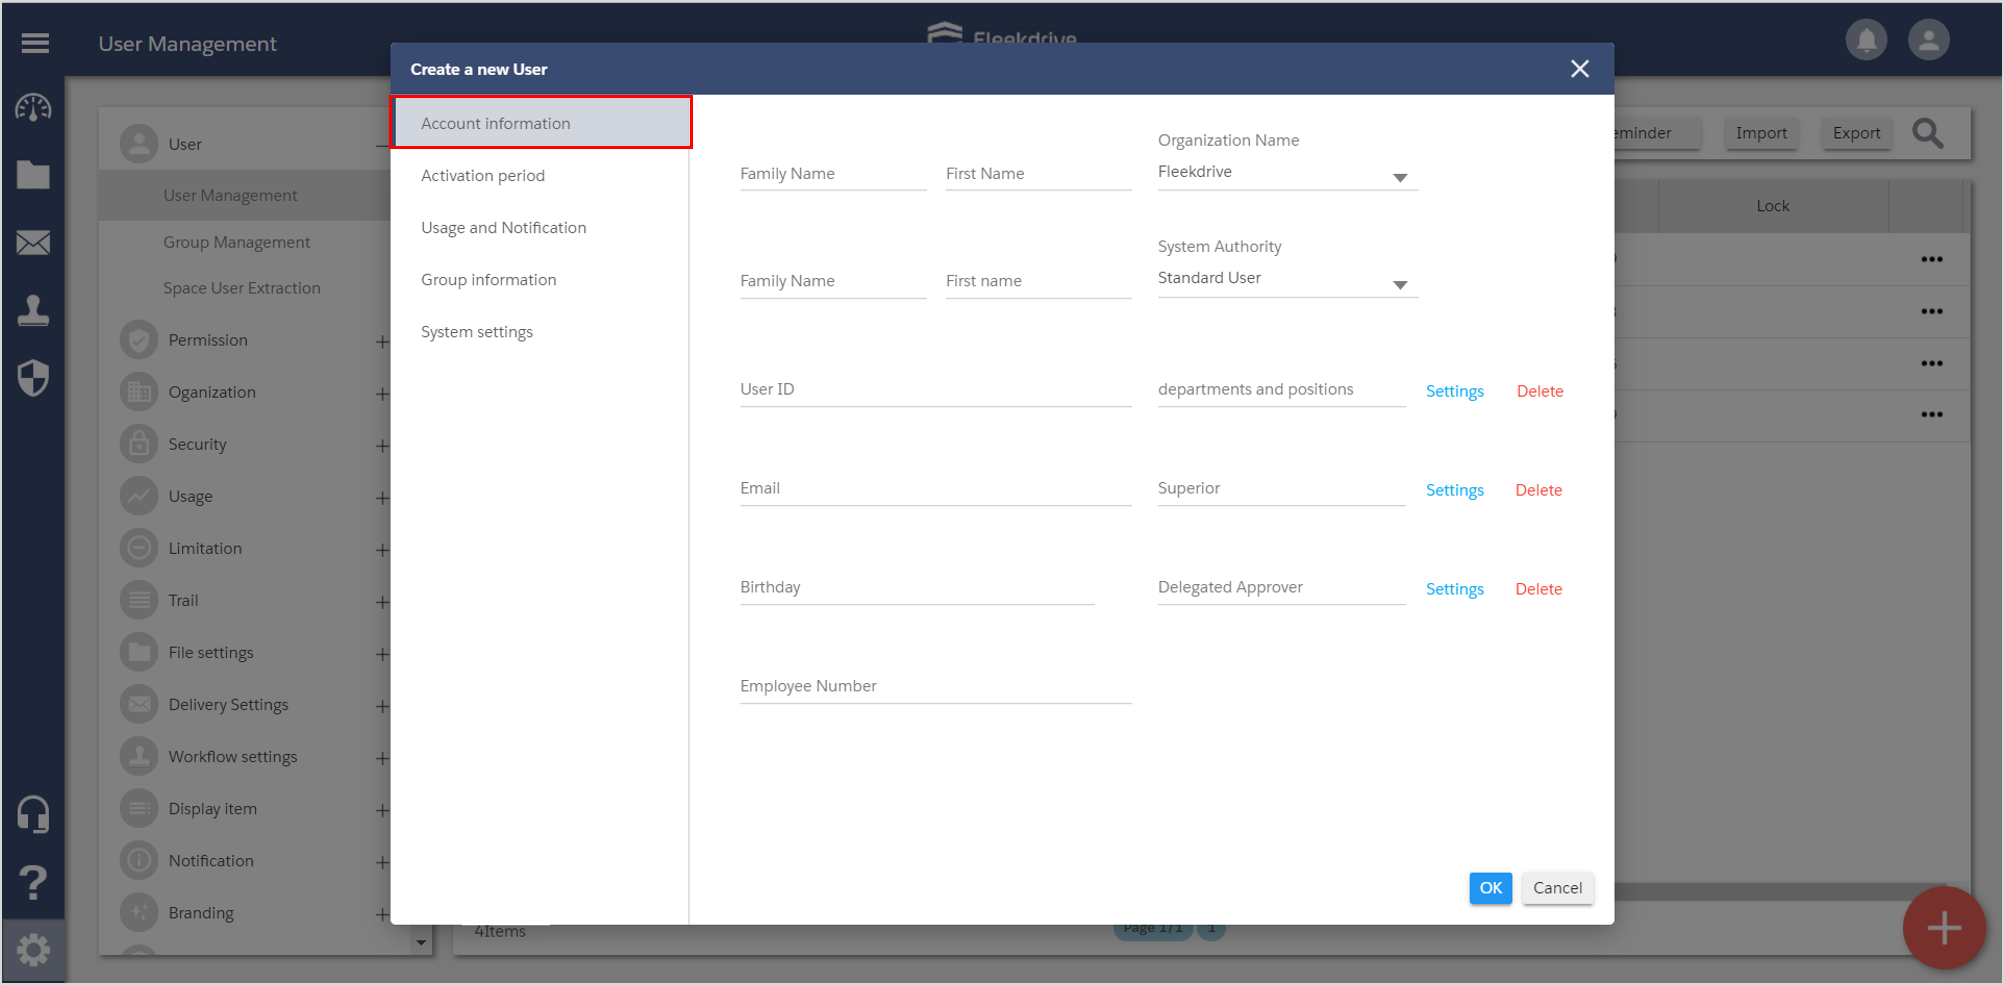
Set the user information.
On the “User Information” tab, set Family Name, First Name,User ID, etc.
*Family Name, User ID, Email are required item.
*The format of User ID has to be mail address which includes @.
- The maximum number of characters for User ID is 80.
- User ID and email address do not have to be the same.
- The User ID does not have to be a real email address.
* It can select the company name registered in the "Partner" menu.
* Set the license to "standard".
The "community" is a license that can be used only by partner users.
If you would like verify the community licence during the trial, please contact our sales staff.
Select the system authority from “System Administrator”, “Partner User”, and “Standard User”.
For more information on system authority, see the guide for “Assign the system authority“.
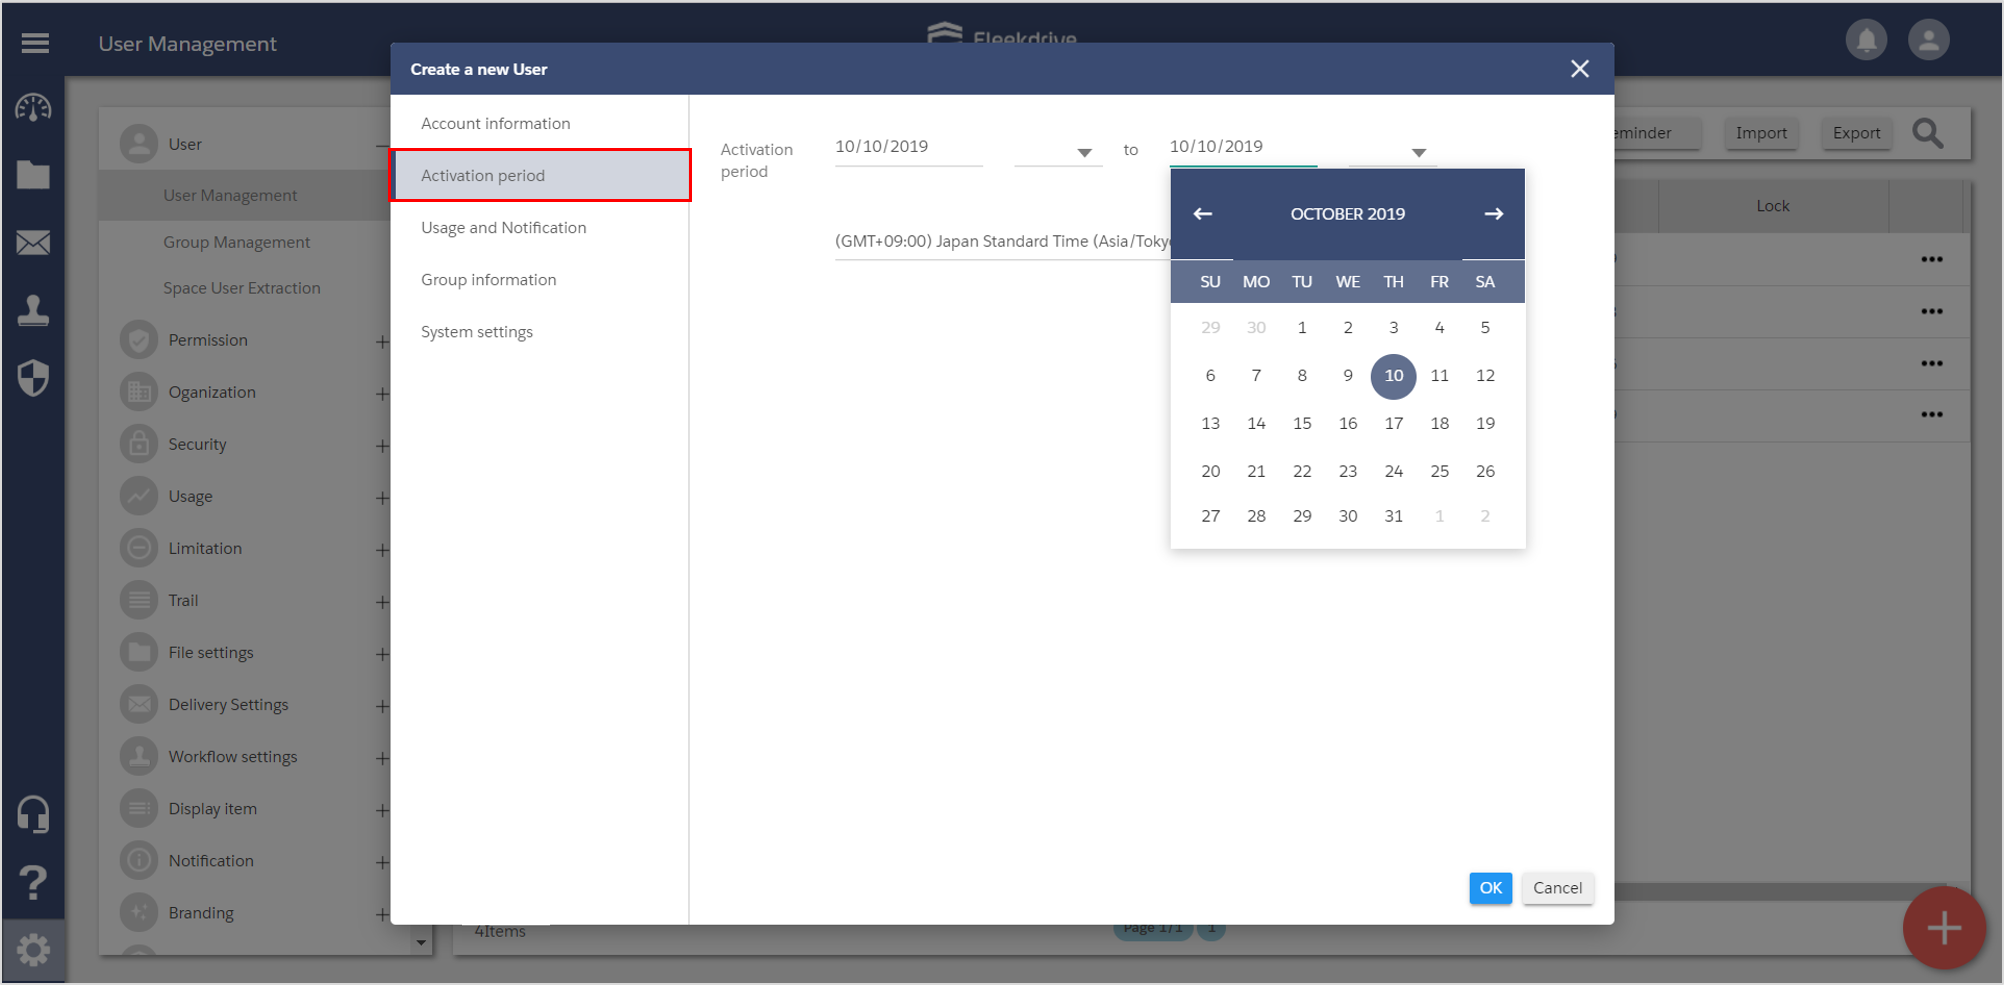
Set the Activation Period.
If you set the Activation Period, set the start date and end date in the tab of the “Activation Period”.
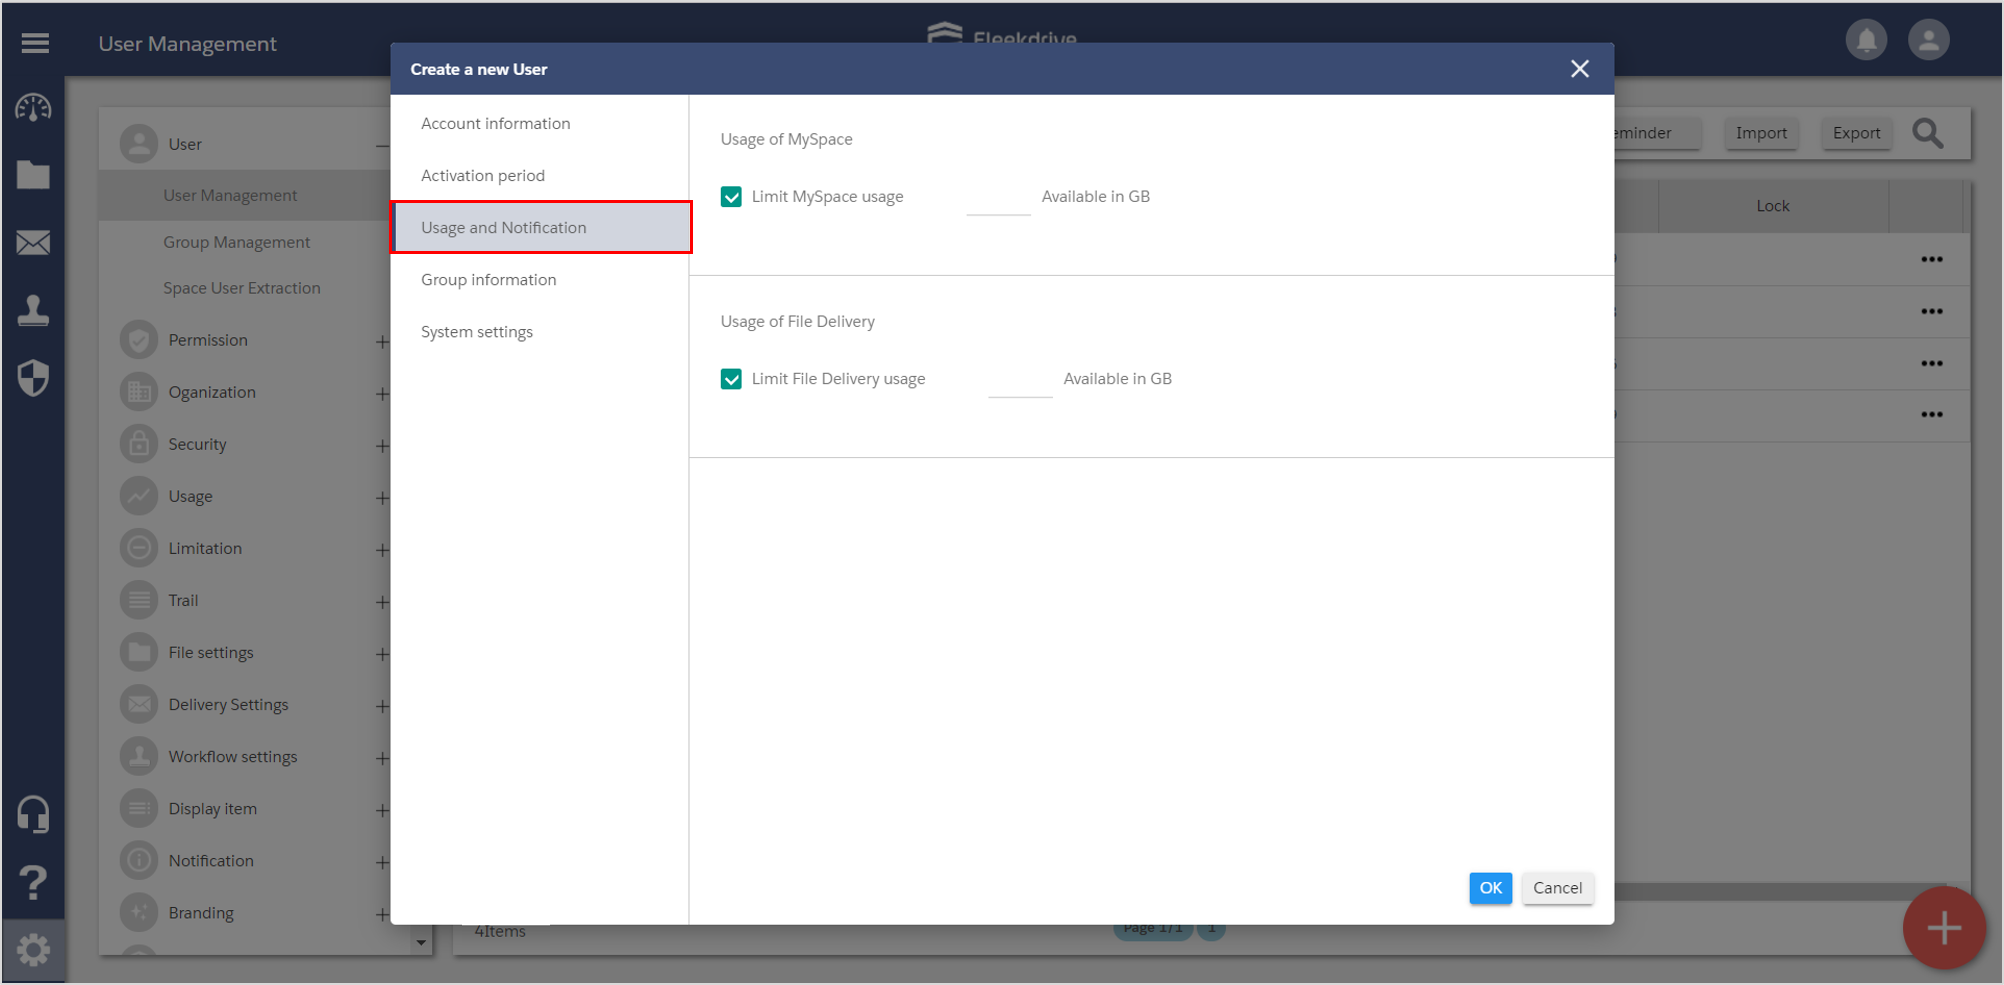
Set the usage and the notification.
Set My space usage of the user, the file delivery usage and notification.
If the input is all completed, push the “OK” button and save.
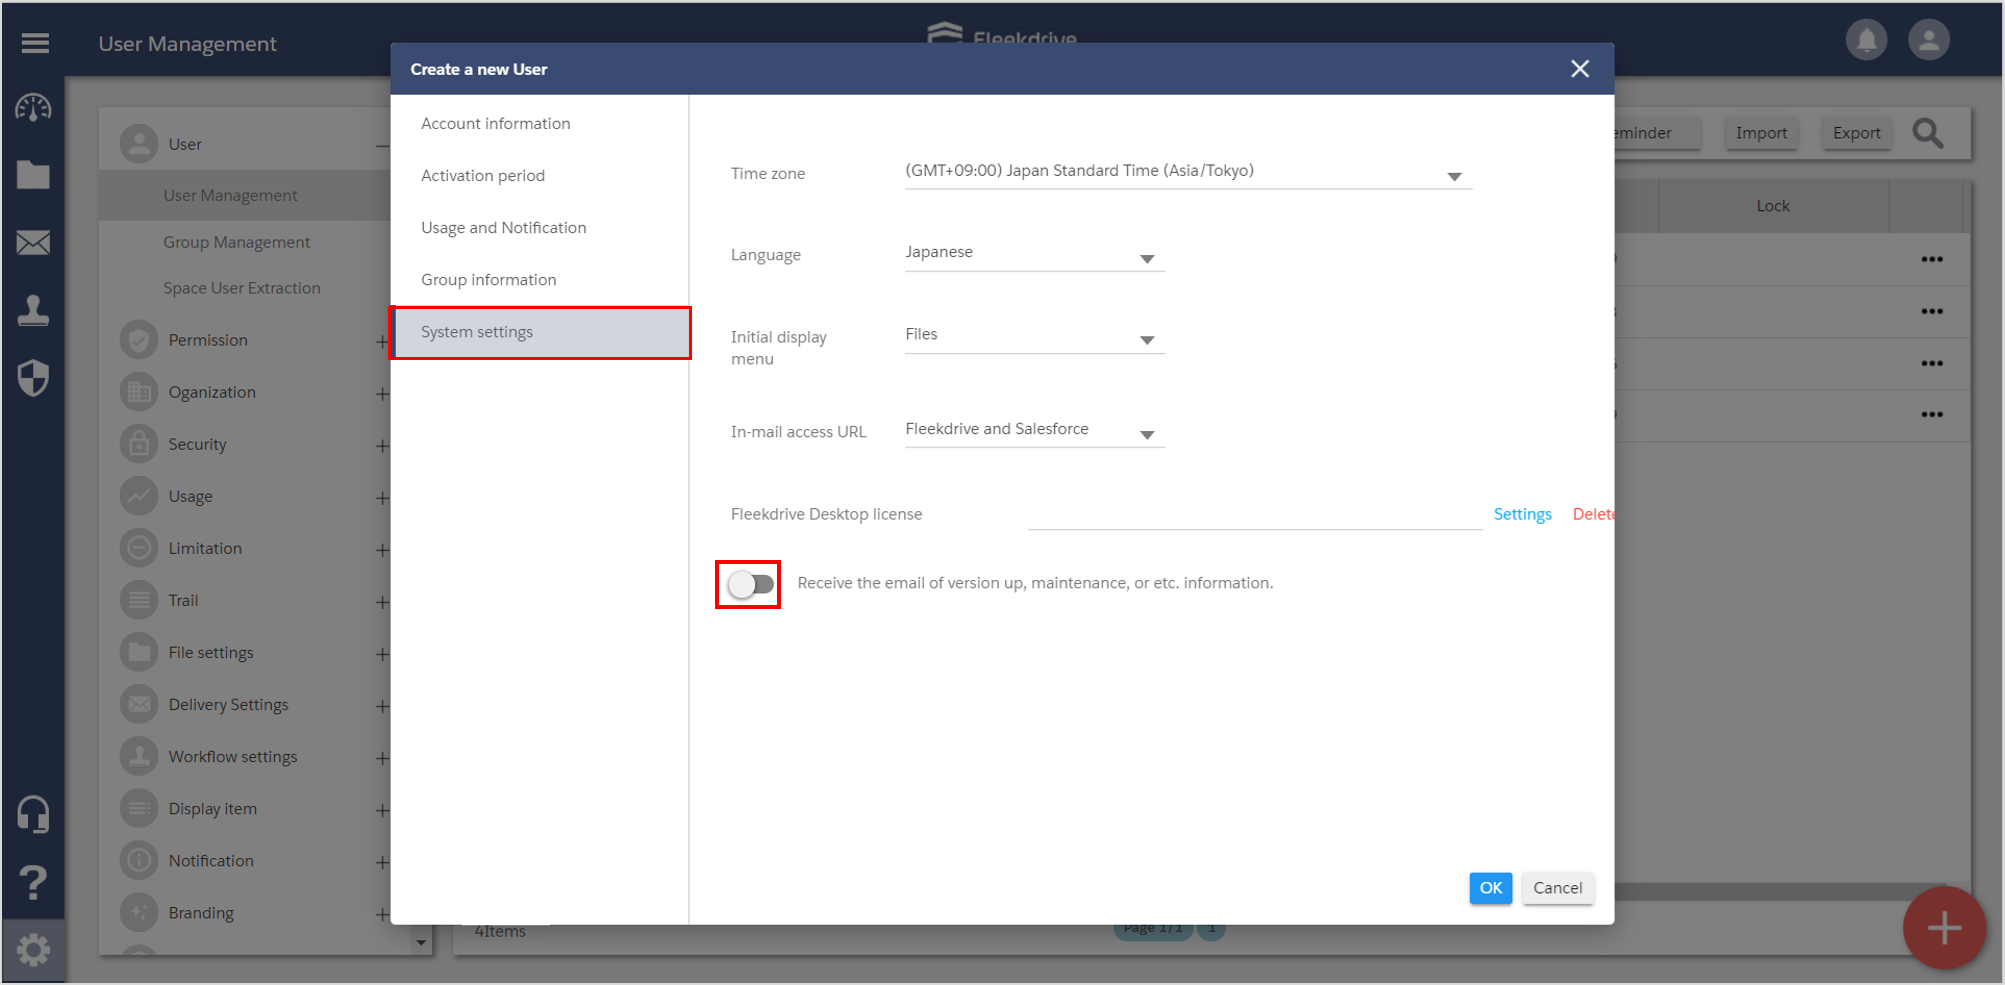
Set the Area and the Language.
Set the time zone and the language of the user in the “System settings” tab.
Last Updated : 24 Feb 2024

