Manage a Fleekdrive Desktop license
Guide for managing the license of Fleekdrive Desktop.
Manage a Fleekdrive Desktop license.
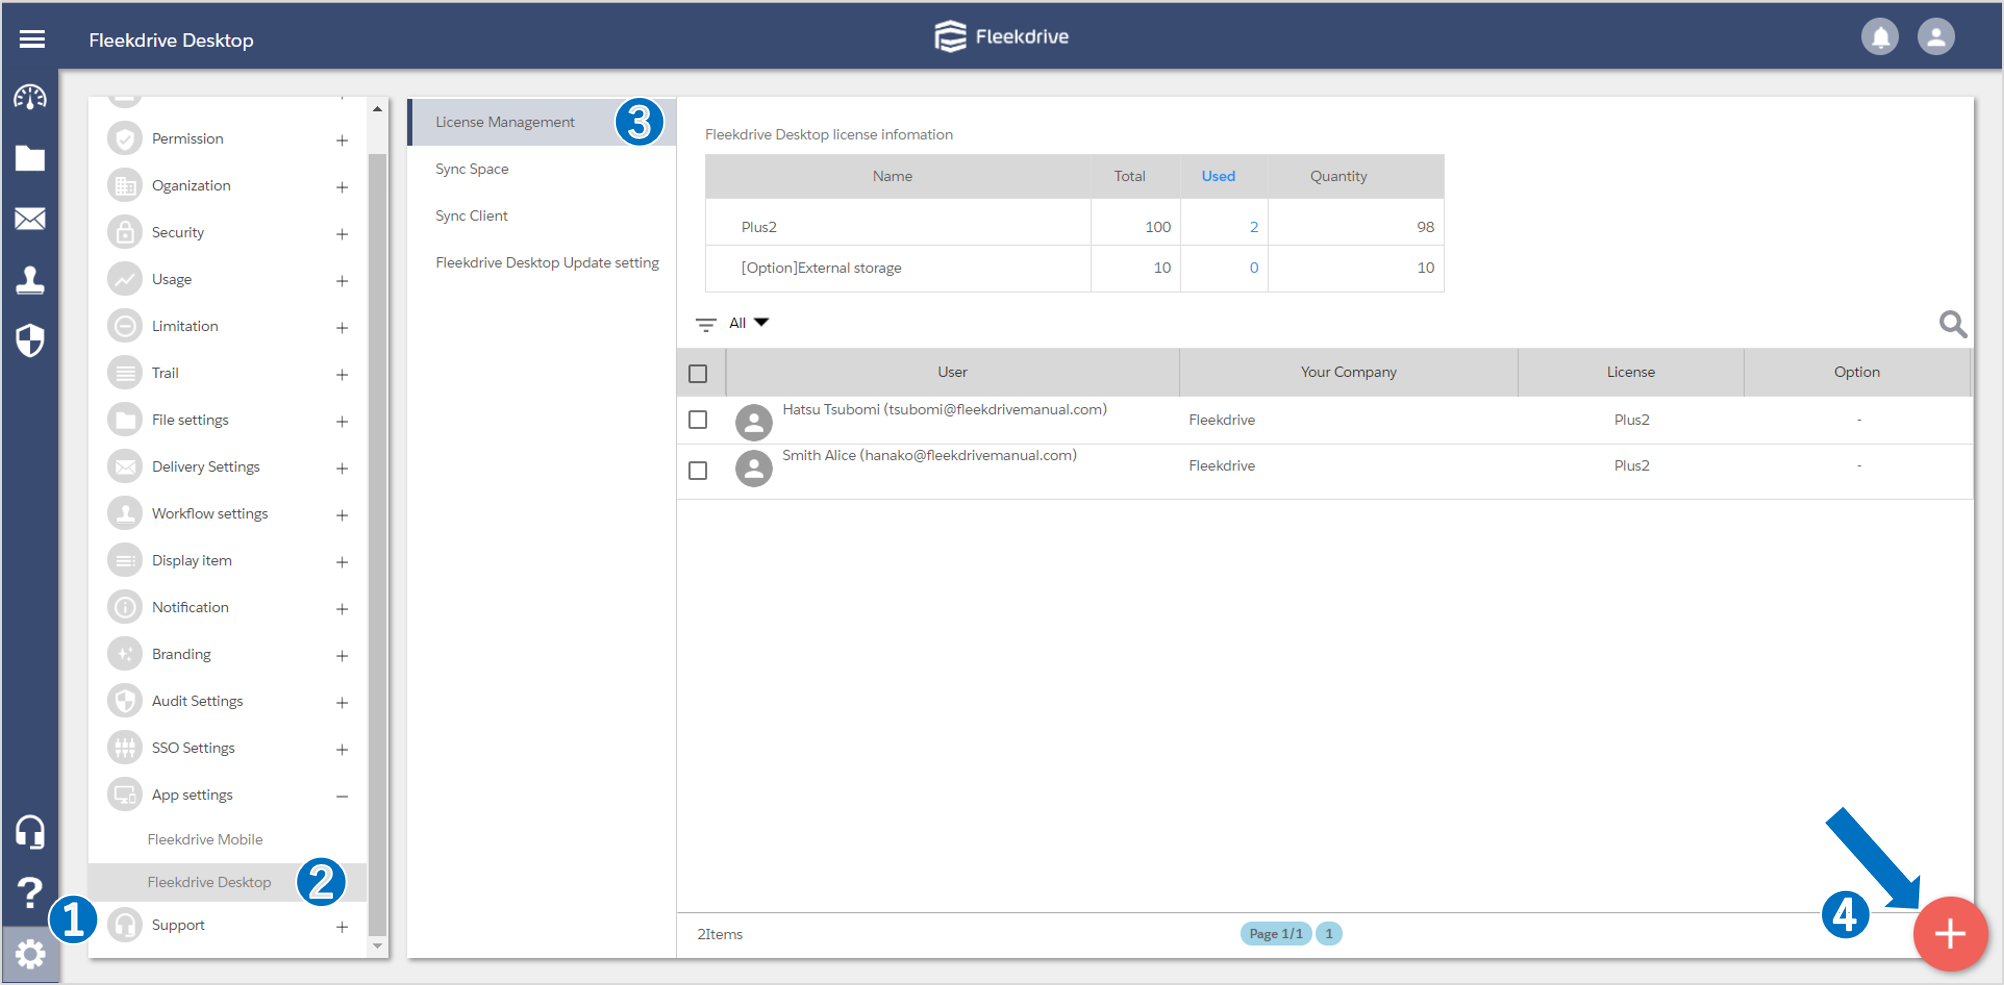
Open the “Fleekdrive Desktop” from Settings menu.
Click the floating button (the red plus mark) on the bottom right.
On “License Management” tab, you can confirm and edit the status of the license allocation.
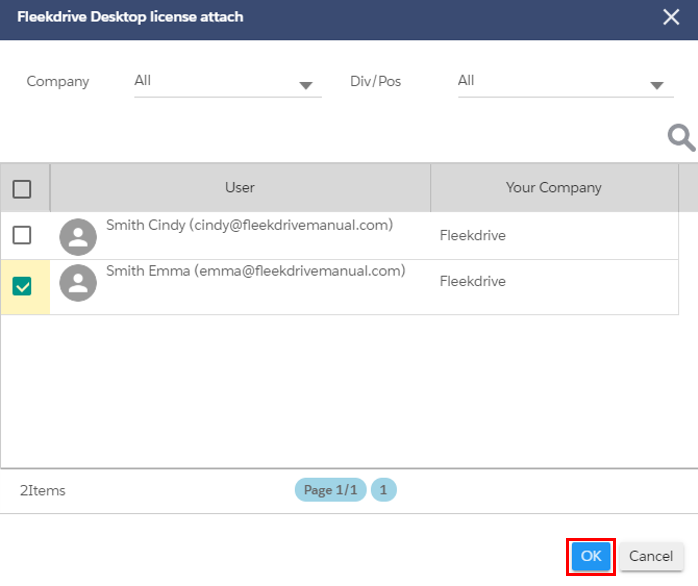
Select the user you want to assign a license, and click “OK” button.
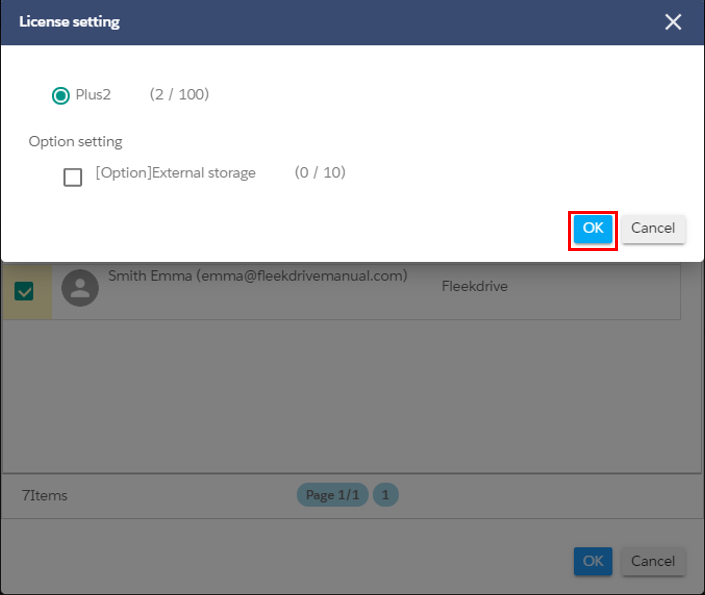
Select the license and click “OK”.
When the license is allocated, the user is displayed on the “License Management” screen.
Manage a sync space.
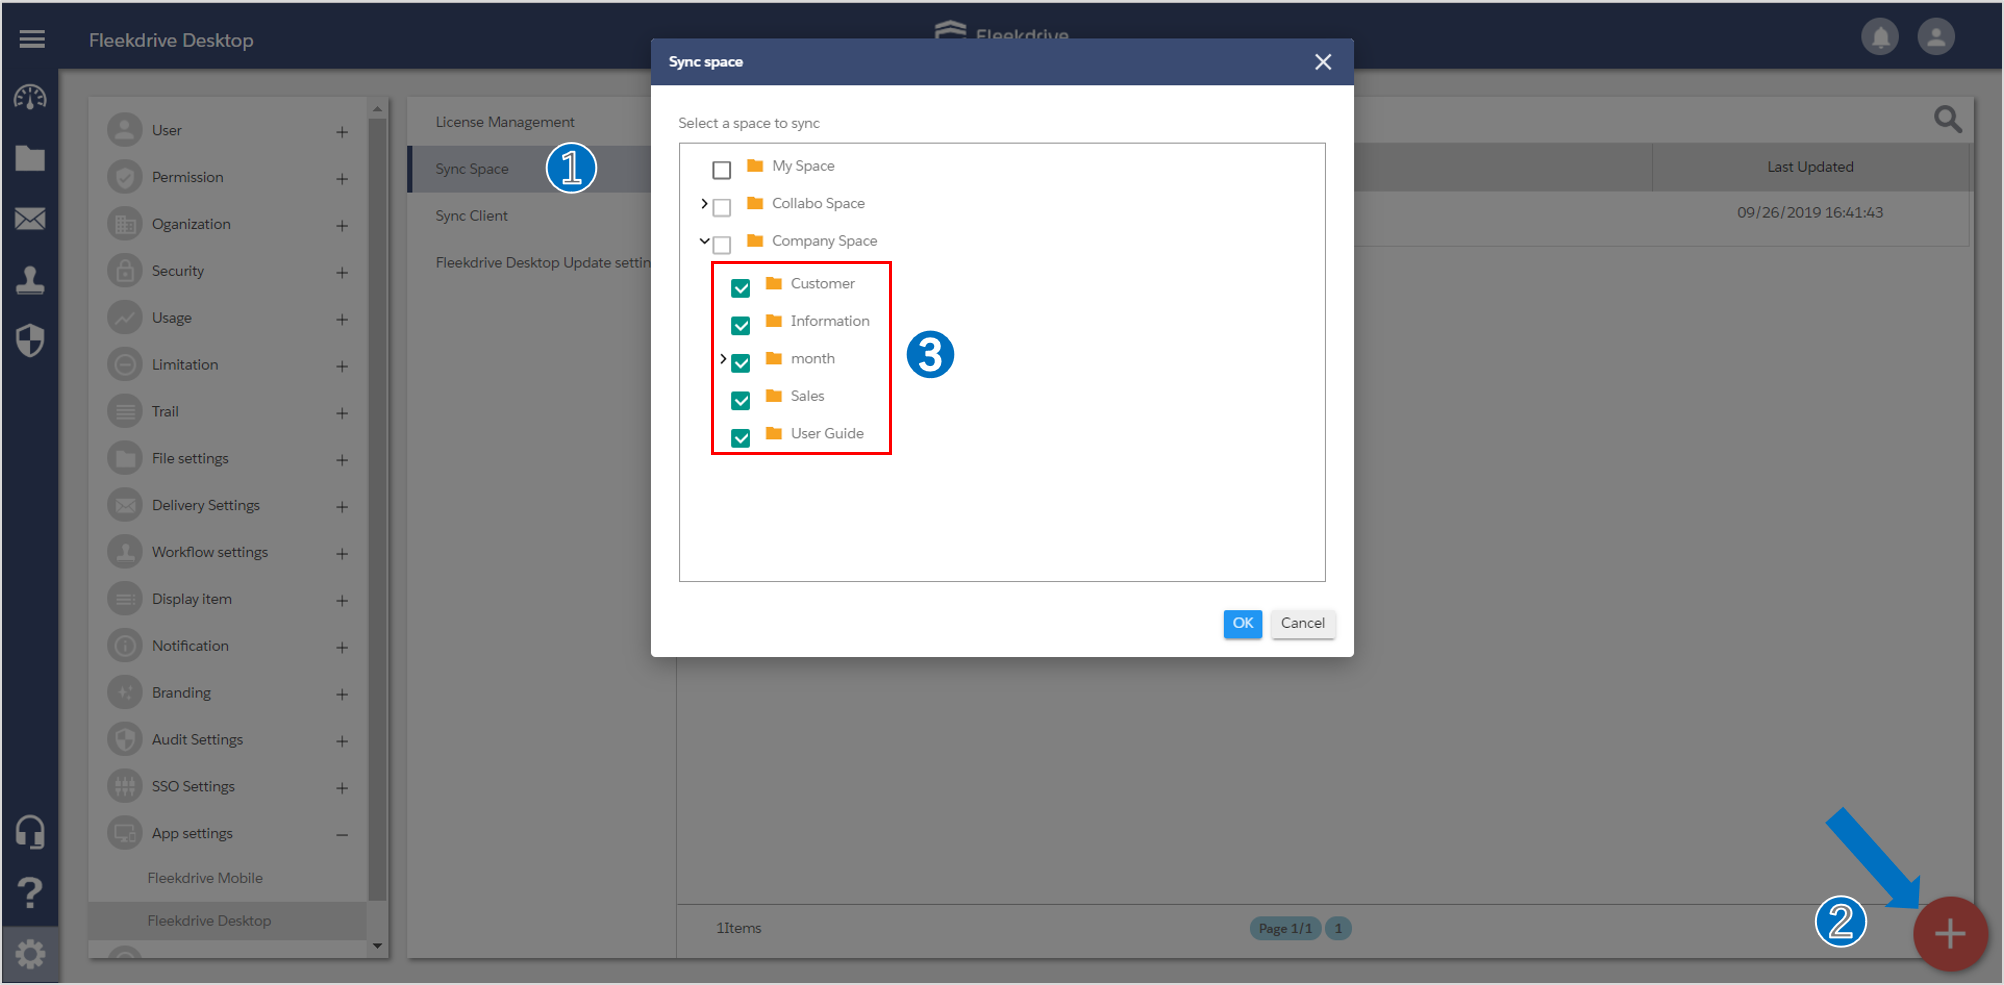
On “Sync Space” tab, you can edit the sync space.
Click the floating button on the bottom right, select the spaces you want to sync.
Then, click “OK” button.
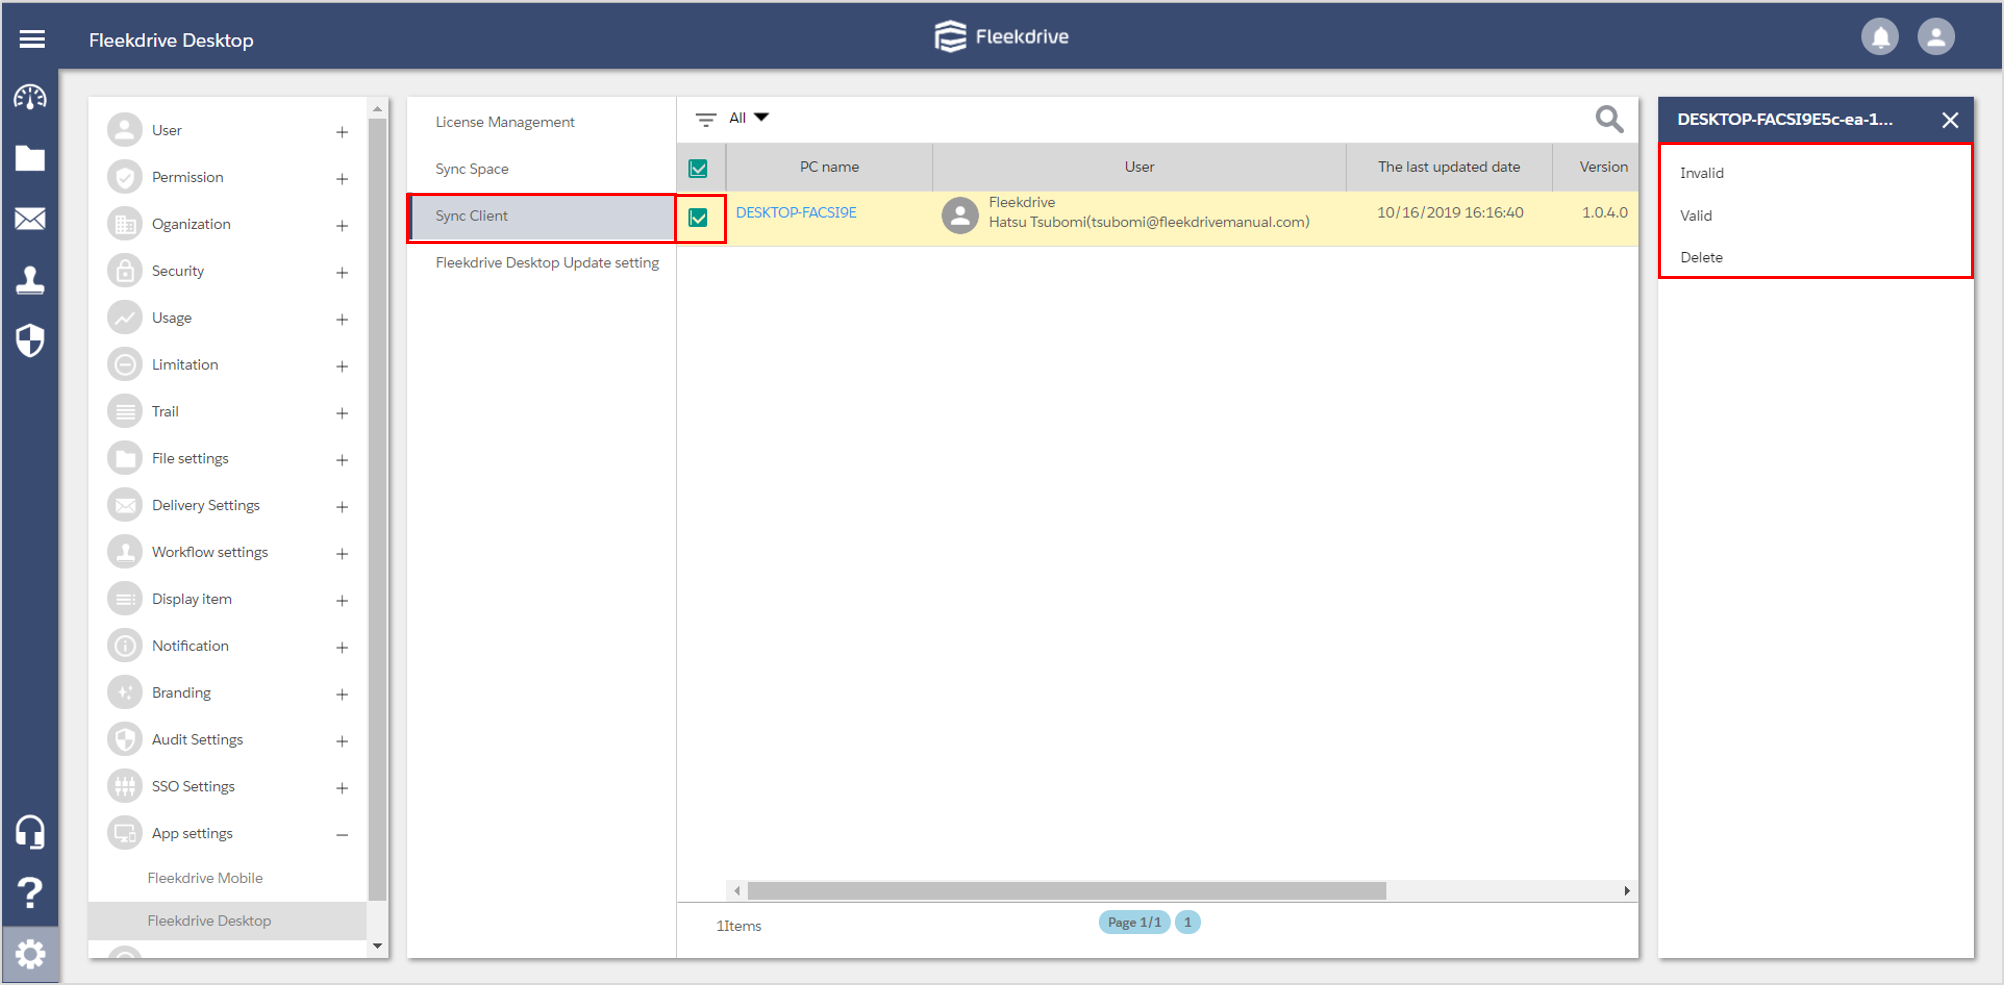
Confirm the sync client.
On “Sync Client” tab, you can manage the client PC that Fleekdrive Desktop was installed and synced.
If you forcibly stop using the Fleekdrive Desktop, select the client and click “INVALID”.
In case the Install Setting is “Manual”, after the system administrator select the client and click “VALID”, the user can use the Fleekdrive Desktop.
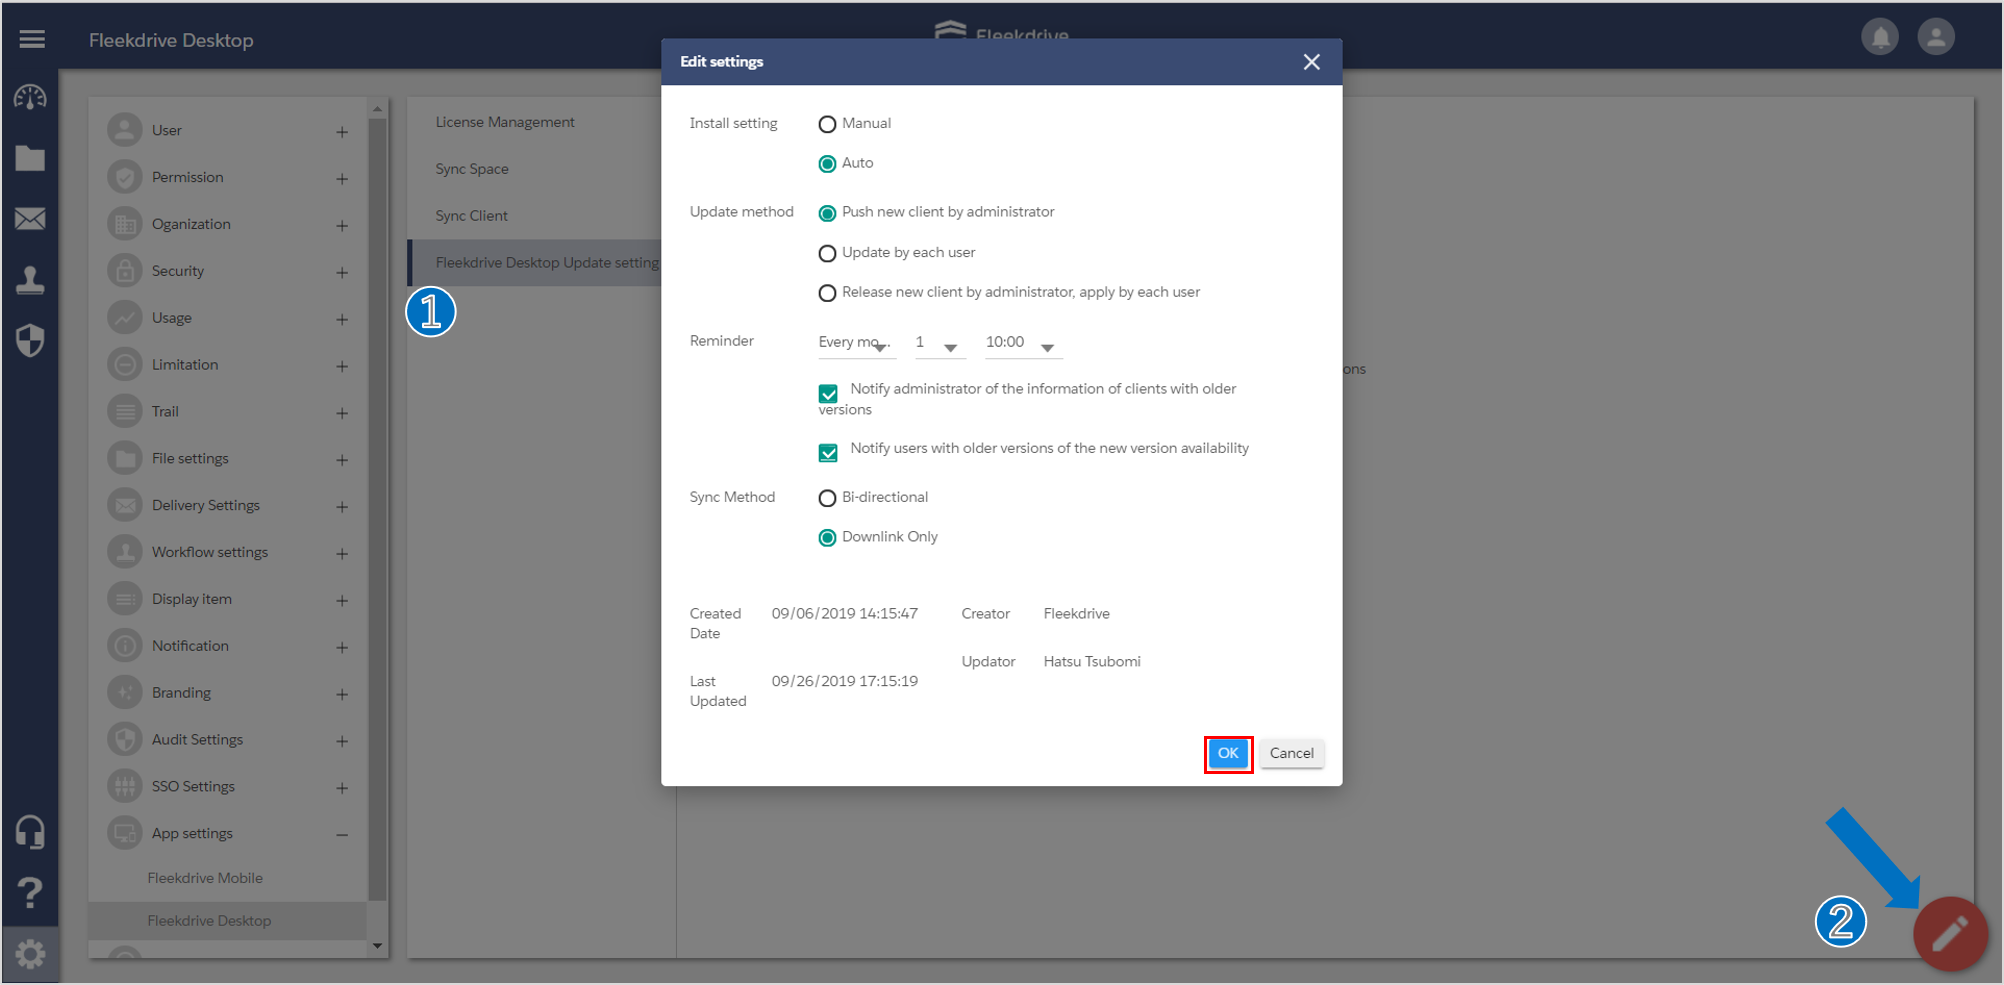
Set the update settings.
On “Fleekdrive Desktop Update setting” tab, you can set the update method, etc.
Click the floating button on the bottom right and make any necessary settings.
Then, click “OK” button to save it.
Last Updated : 23 Jun 2021